Smart Clock
We have smart phones, smart watches … how about a Smart Clock?
What do you need:
- old wall clock
- raspberry pi
- stepper motor 28-BYJ-48
- wires
- hotglue
- plywood – optional
The Clock Face
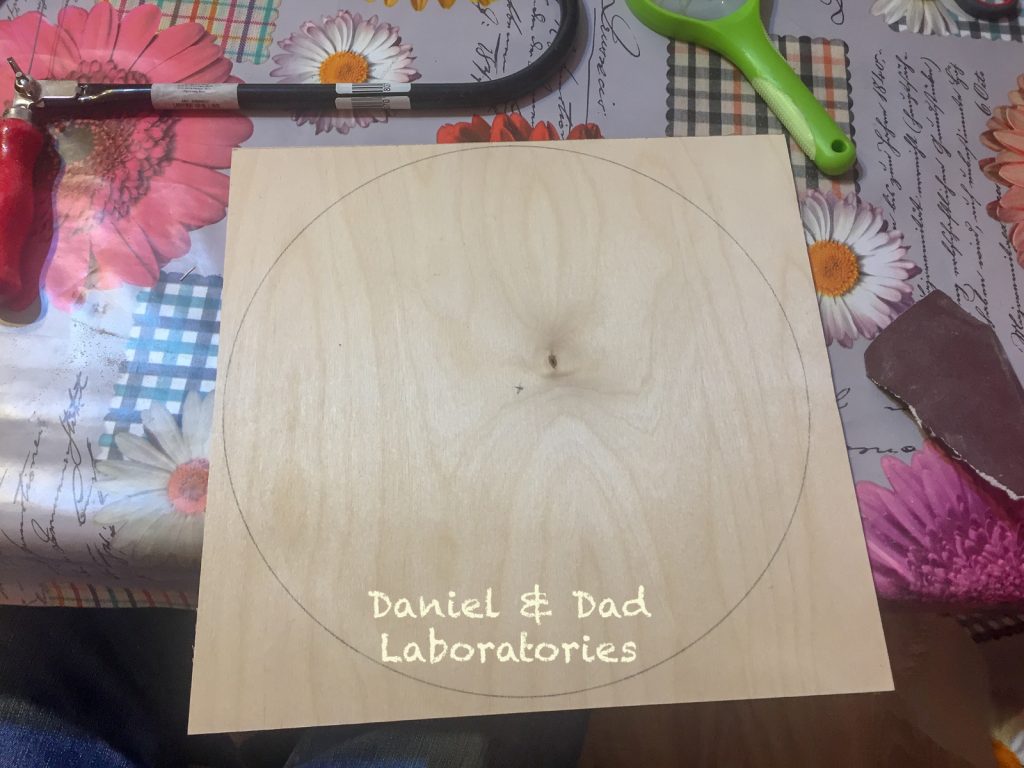
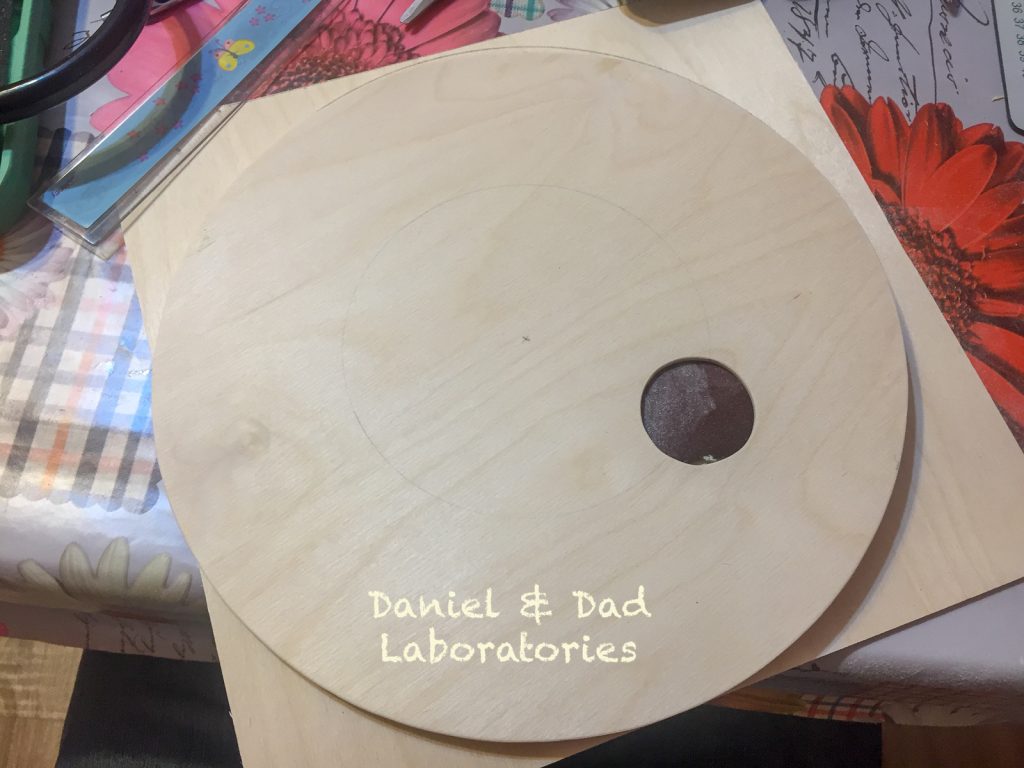
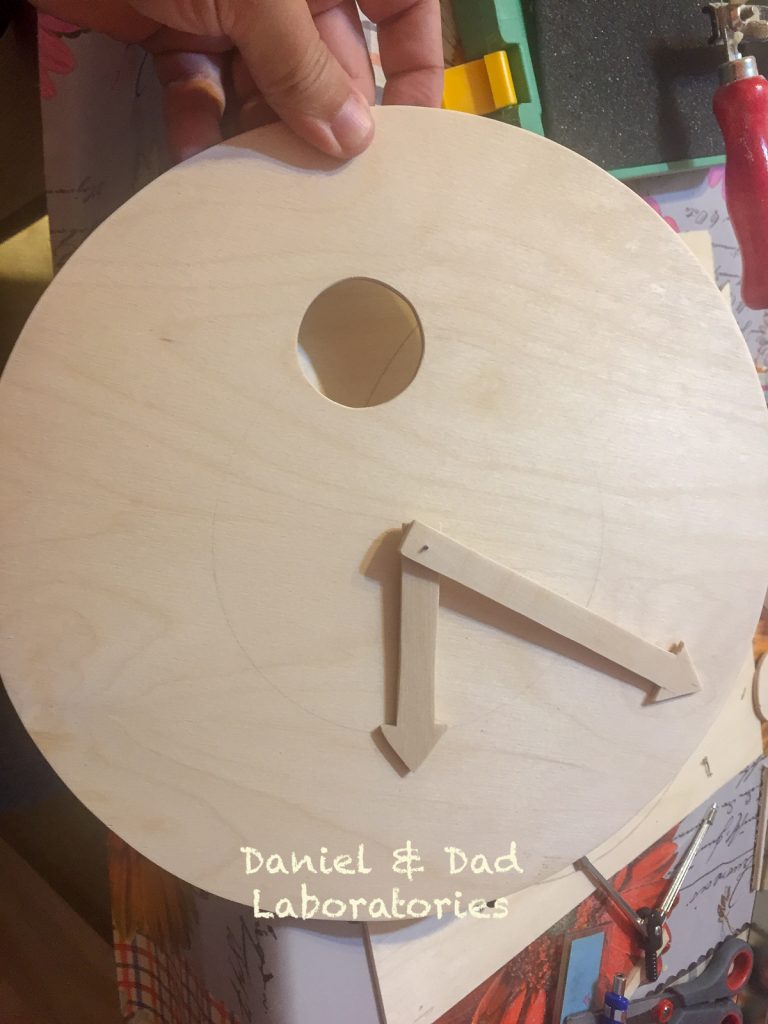
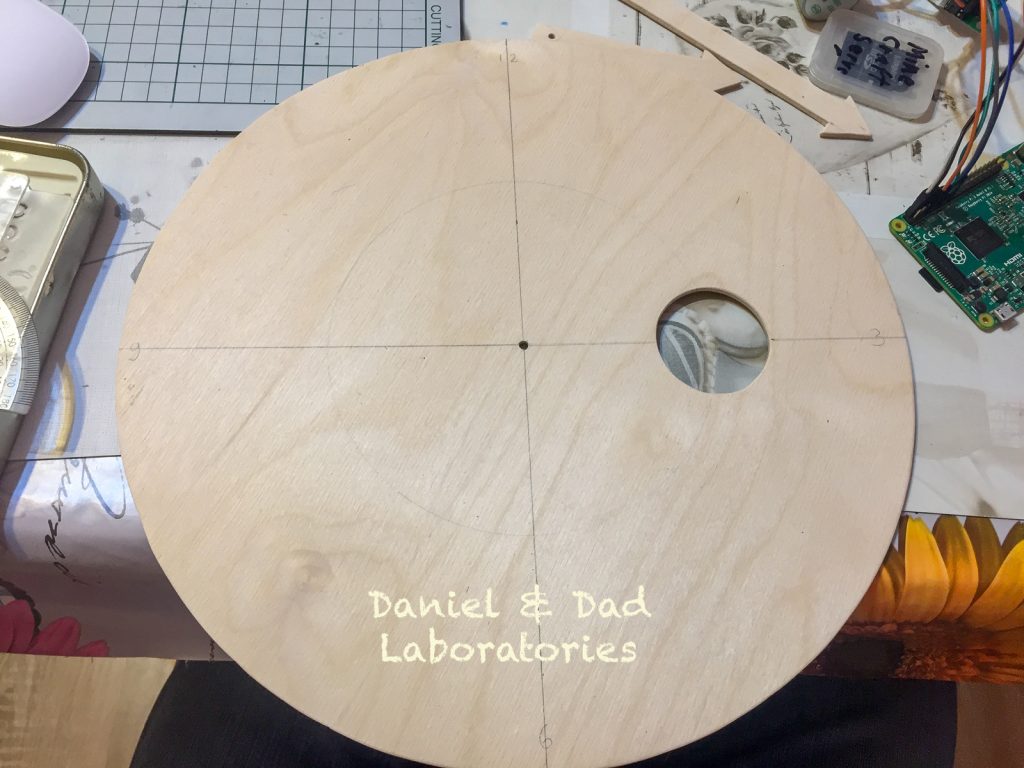
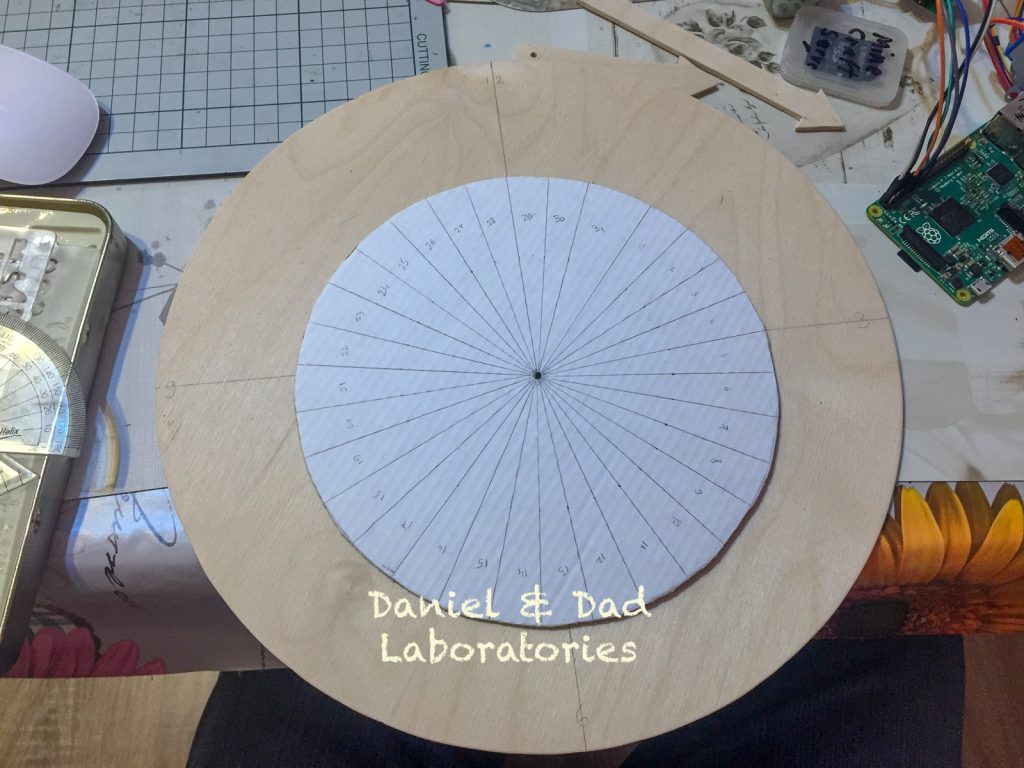
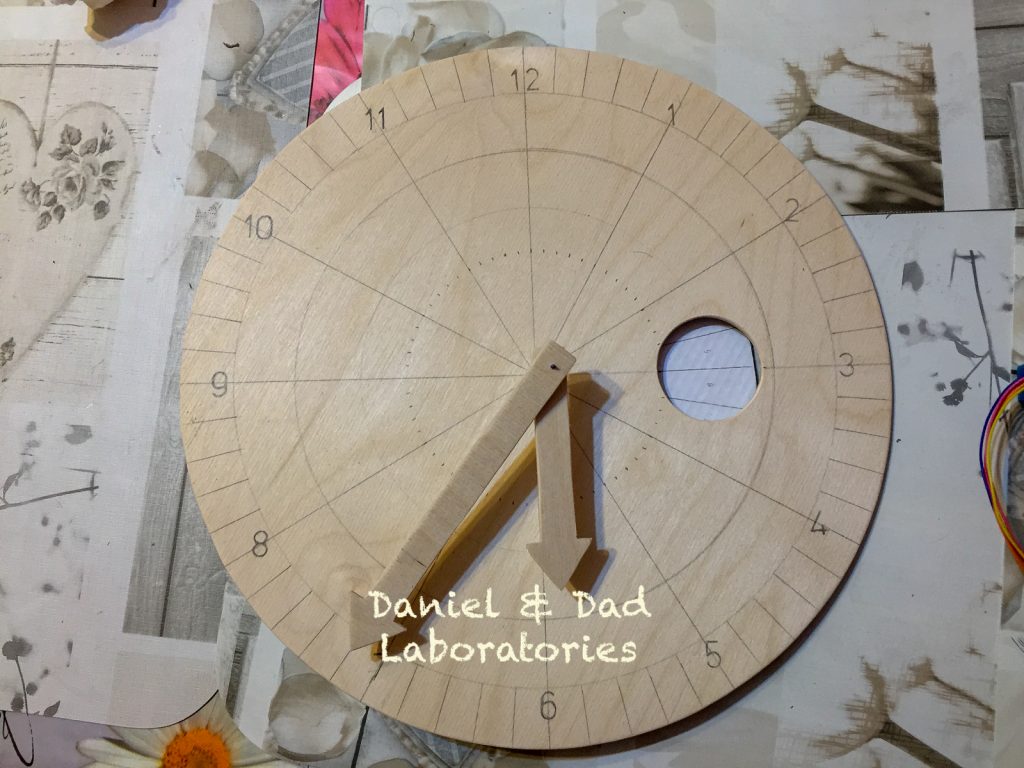
For the Clock Face – we have decided to use wood (plywood). You may also use a cheap wall clock face.
Clock Mechanism
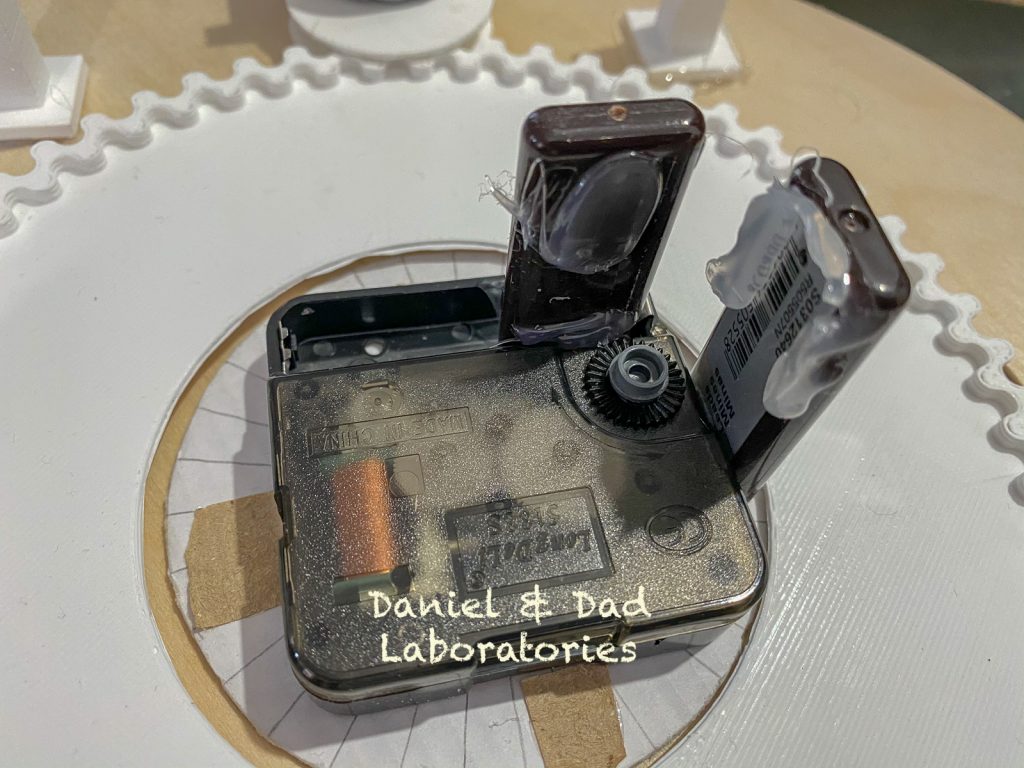
The clock mechanism is complicated and we have decided to use an existing mechanism for an old wall clock (you can buy a wall clock for as cheap as 2$)
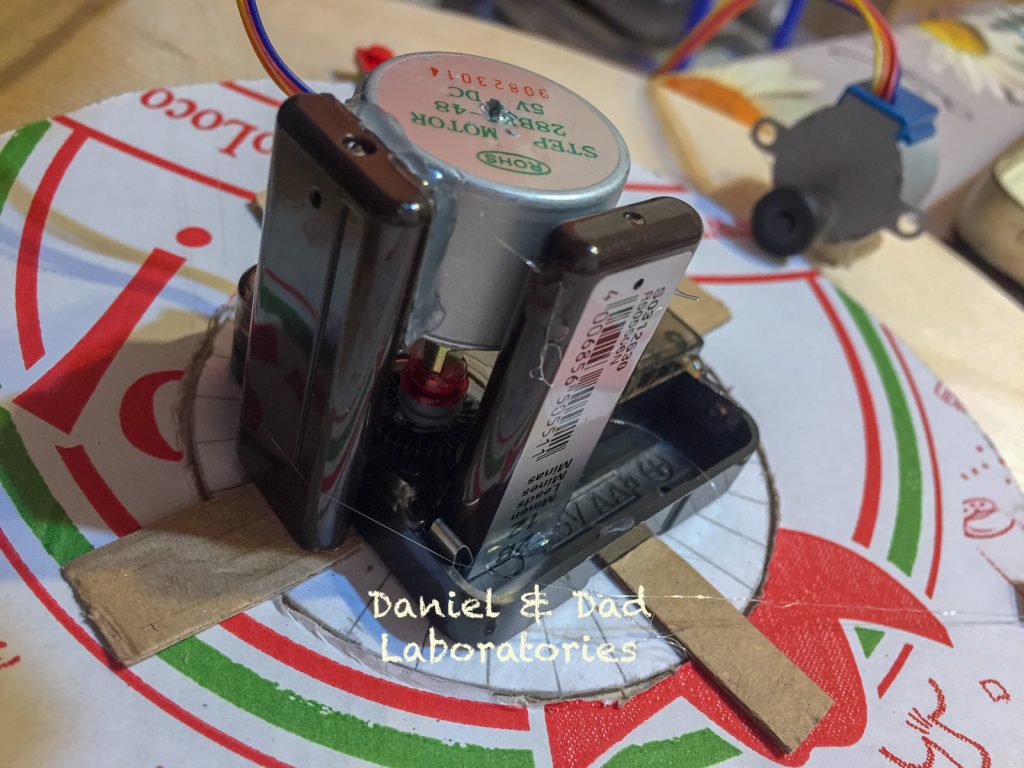
We have connected the stepper motor directly to the back wheel that changes the hour. You can use hot glue or any glue that has strong adherence.
Moving the motor will adjust both the minutes+hours hands.
3D Models
As another version, we have created some 3D printed gears for the date plate.
3D model for date gears: https://www.tinkercad.com/things/9TaUR7BSQQu
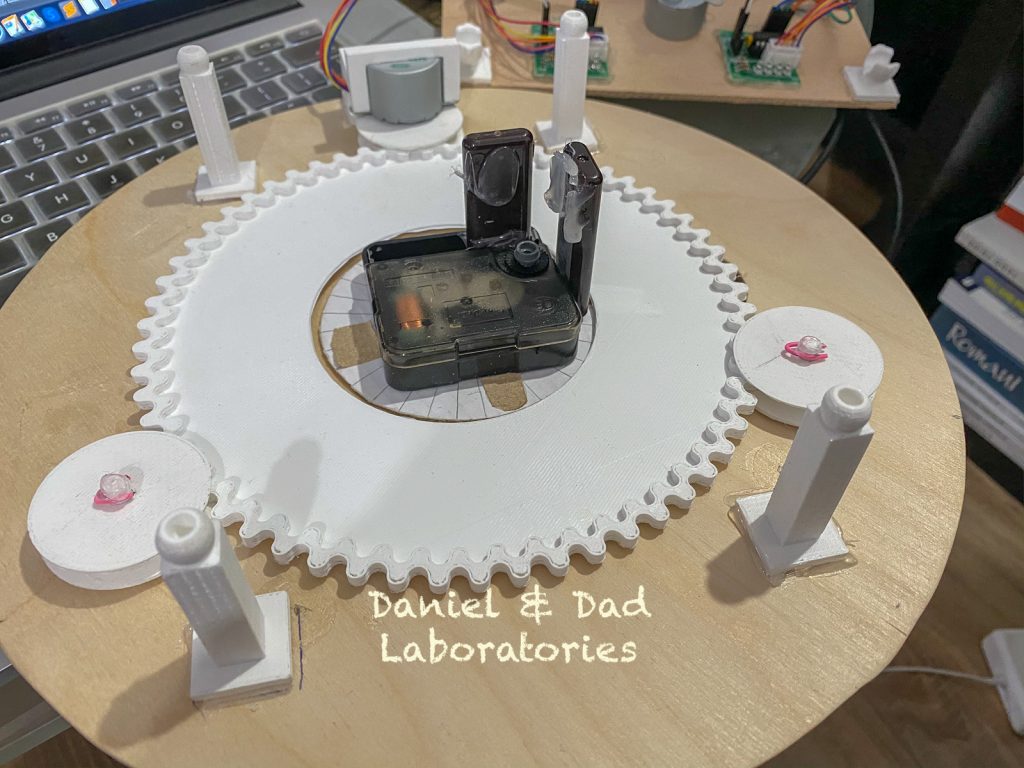
3D model for connectors: https://www.tinkercad.com/things/9XqpMBTGcWf
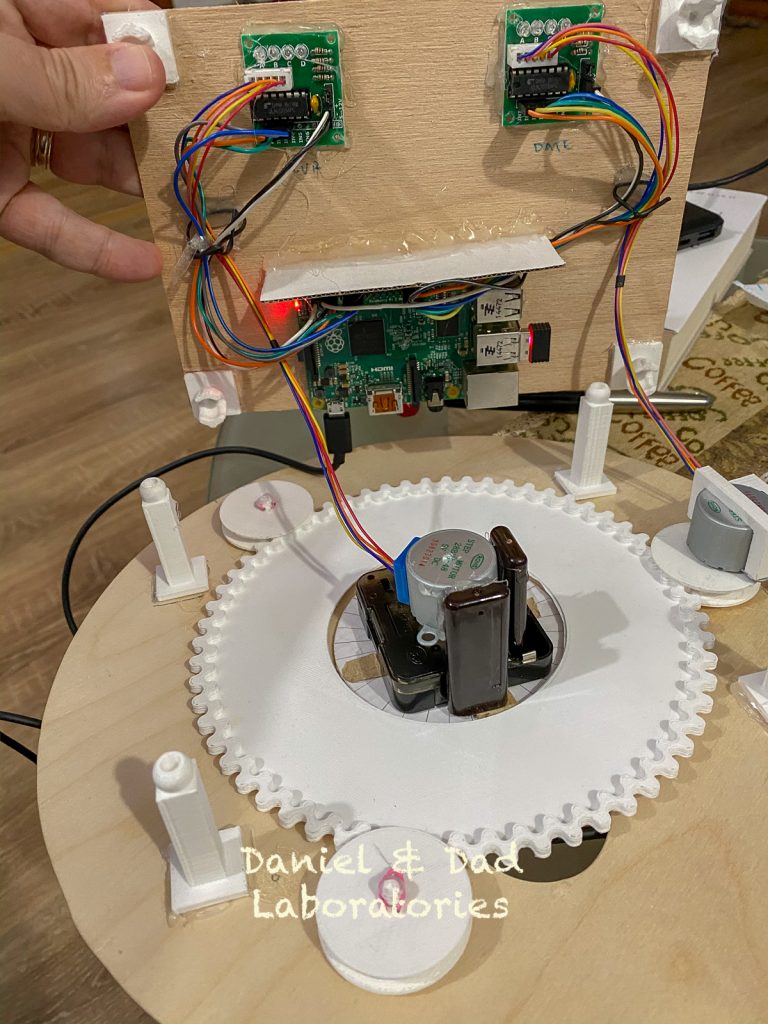
3D Model for motor support (date):
https://www.tinkercad.com/things/7vGxhJsRV7a
Stepper motors
As stepper motors we have selected 28-BYJ-48.
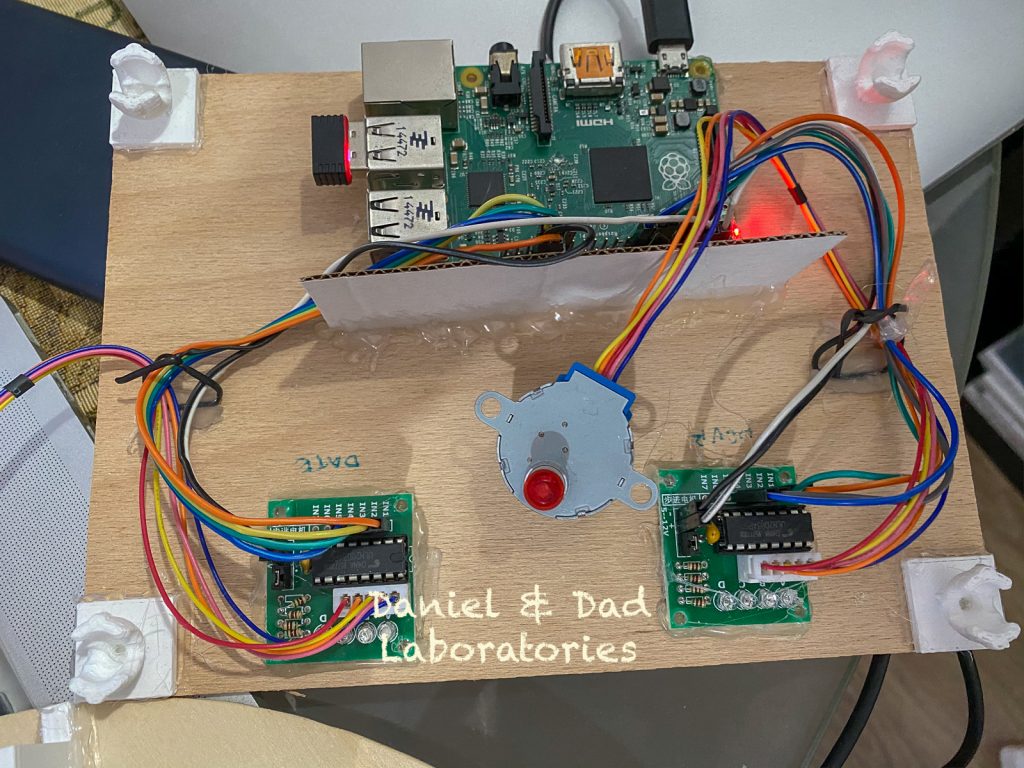
The advantage of this motor is that it can be powered directly from the raspberry pi io pins without extra power. The motor required 4 io pins.
We have got two motors, one for hour/minutes and one for the date.
Raspberry Pi and Software
Used a raspberry pi to control the stepper motors.
The program was written in python and you can find it here:
https://github.com/smarcu/stepper-motor-28-BYJ48-raspberry


