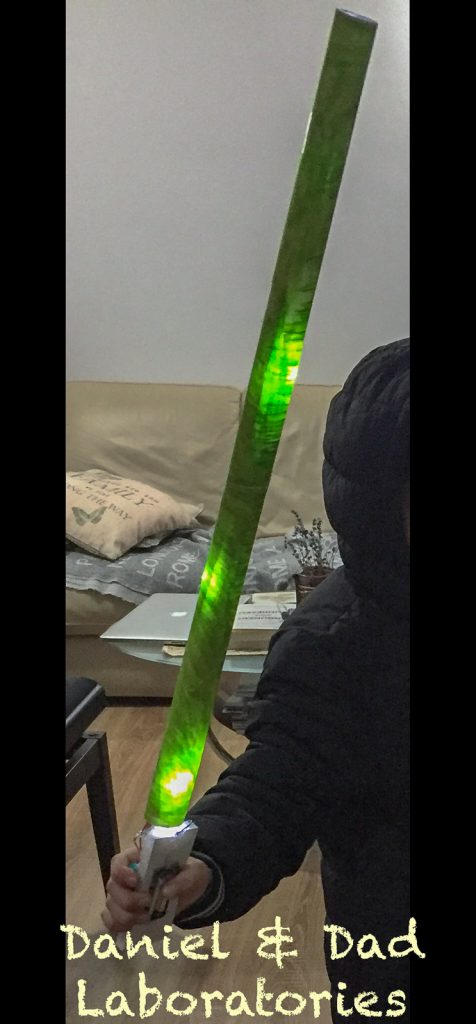
Customize Consent Preferences

We use cookies to help you navigate efficiently and perform certain functions. You will find detailed information about all cookies under each consent category below.

The cookies that are categorized as "Necessary" are stored on your browser as they are essential for enabling the basic functionalities of the site. ... 

Always Active

Necessary cookies are required to enable the basic features of this site, such as providing secure log-in or adjusting your consent preferences. These cookies do not store any personally identifiable data.

No cookies to display.

Functional cookies help perform certain functionalities like sharing the content of the website on social media platforms, collecting feedback, and other third-party features.

No cookies to display.

Analytical cookies are used to understand how visitors interact with the website. These cookies help provide information on metrics such as the number of visitors, bounce rate, traffic source, etc.

No cookies to display.

Performance cookies are used to understand and analyze the key performance indexes of the website which helps in delivering a better user experience for the visitors.

No cookies to display.

Advertisement cookies are used to provide visitors with customized advertisements based on the pages you visited previously and to analyze the effectiveness of the ad campaigns.

No cookies to display.

Lightsaber

Materials

  • foamcore , width 1cm, size > 60 cm
  • 4 LED
  • battery holder (4x AAA)
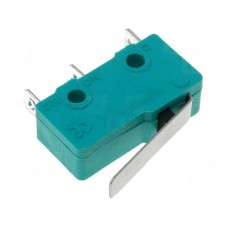
  • small switch
  • wires
  • adhesive tape (transparent)
  • 2 x printer paper
  • hot glue gun
  • OPTIONAL soldering station to solder the LED and wires

Work time: about 1 hour

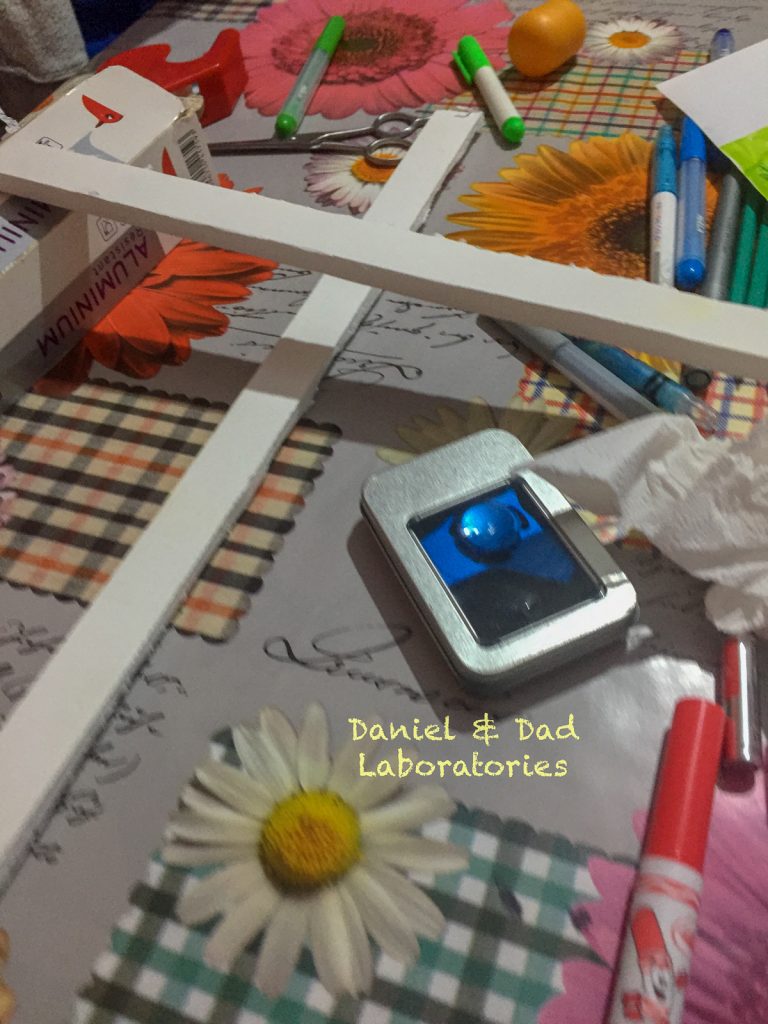
We have used this battery holder and switch

.

Schematics

lightsaber blueprint

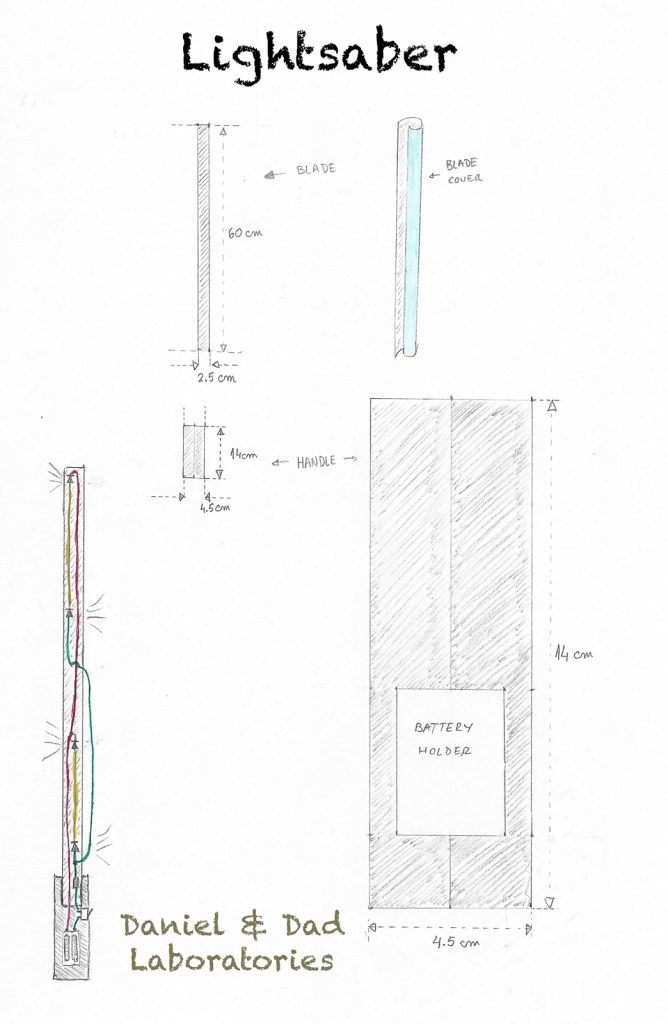
Measure your battery holder and adapt the size of the lightsaber holder cutout to fit the battery.

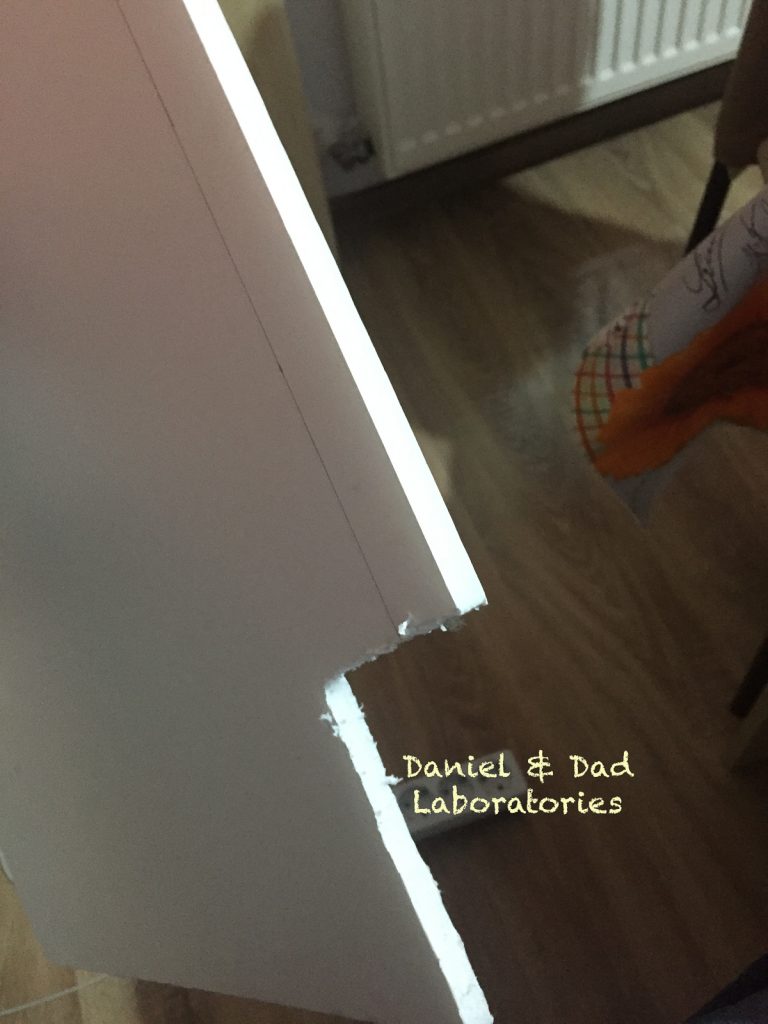
Draw the shape of the parts on foam core and using a cutter cut the blade and the handle.

lightsaber foamcore
lightsaber foamcore
lightsaber foamcore
lightsaber foamcore

Wires and LEDs

Place the leds as in the schematics image and measure the wires to match the distances between the leds.

It is recommended to solder the wires and leds together, in case you don’t have a soldering iron try to wrap the wires together.

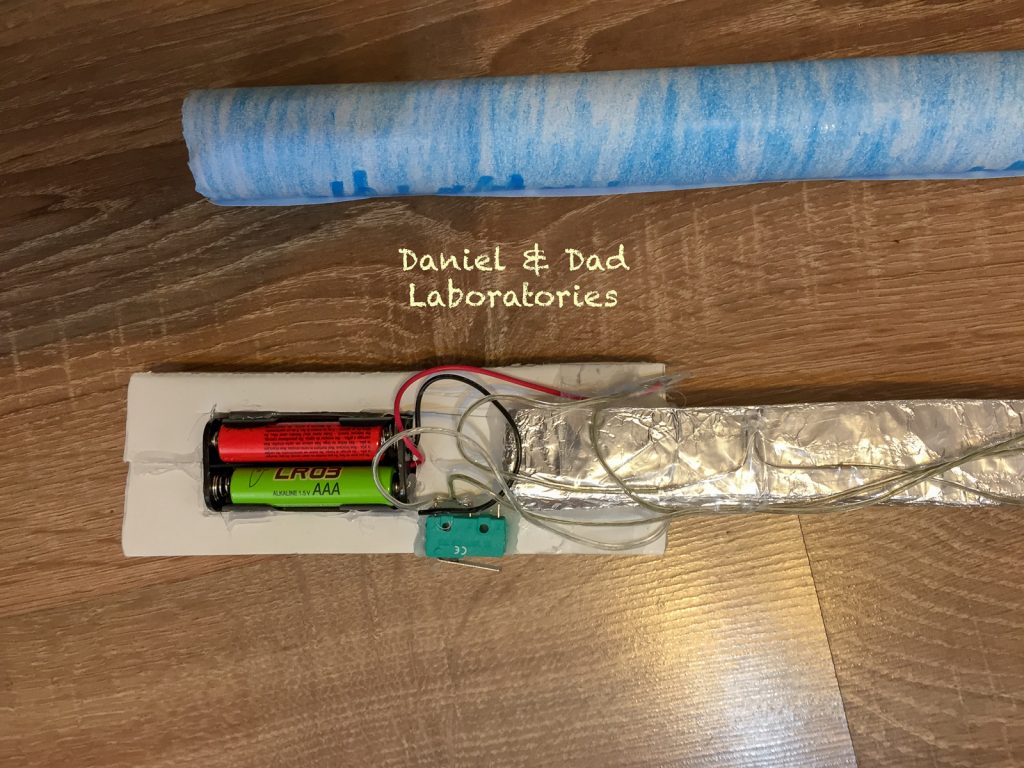
Use tape to isolate all exposed metal parts.

Test the circuit connecting the wires to the batteries.

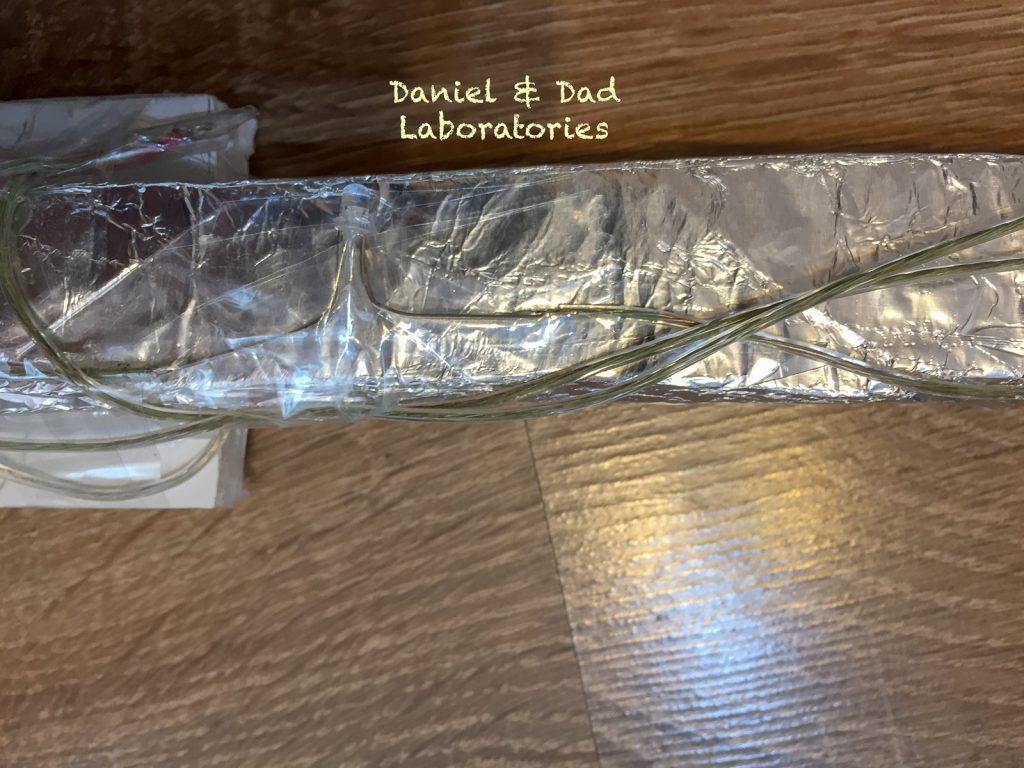
Place 2 leds on each side of the lightsaber.

lightsaber led
lightsaber led

The blade

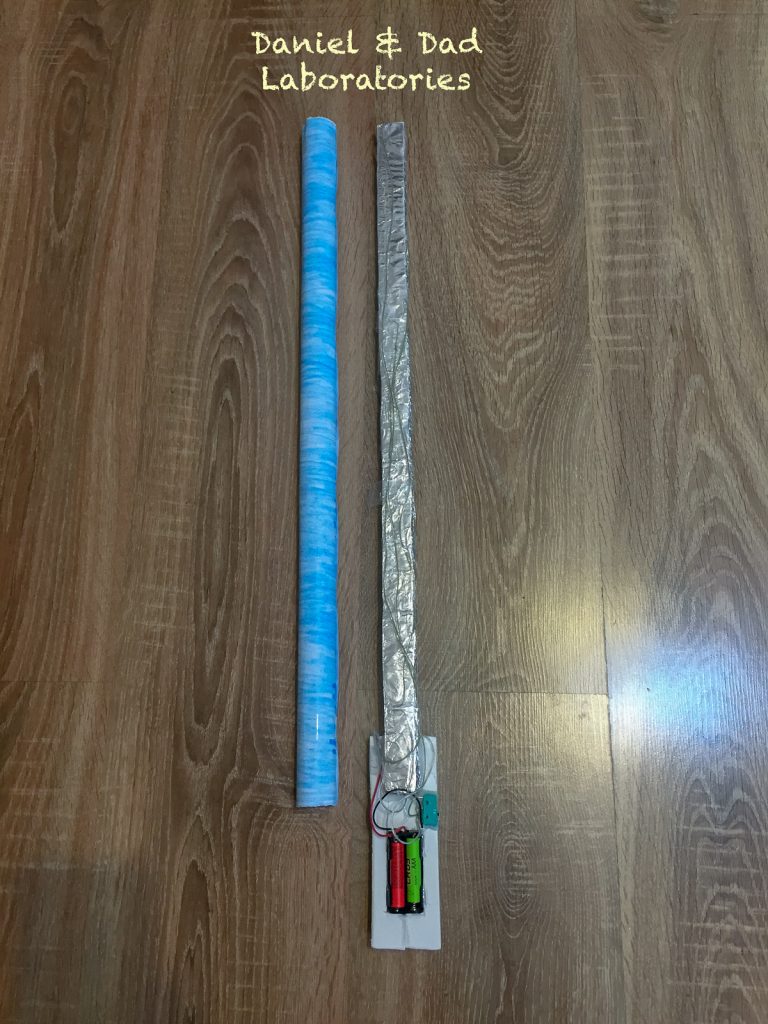
Using tape attach the wires and the leds to the foamcore blade.

Test again the wires to see if no wire is loose/disconnected.

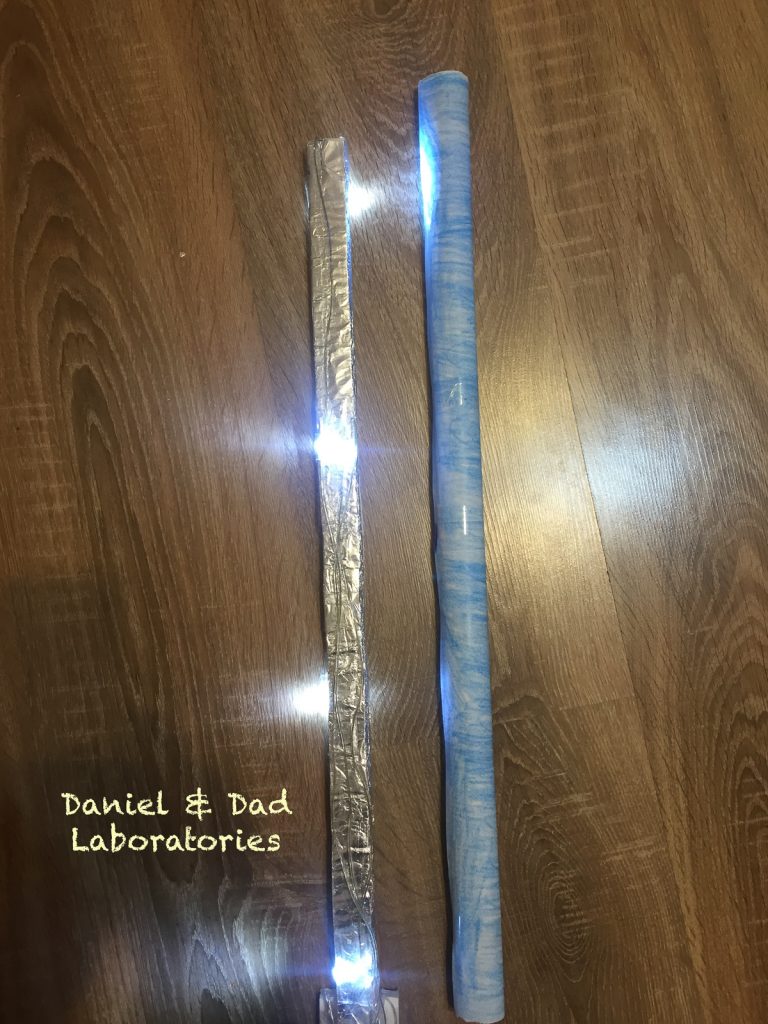
Colour the 2 papers and using tape create a tube that will fit the blade.
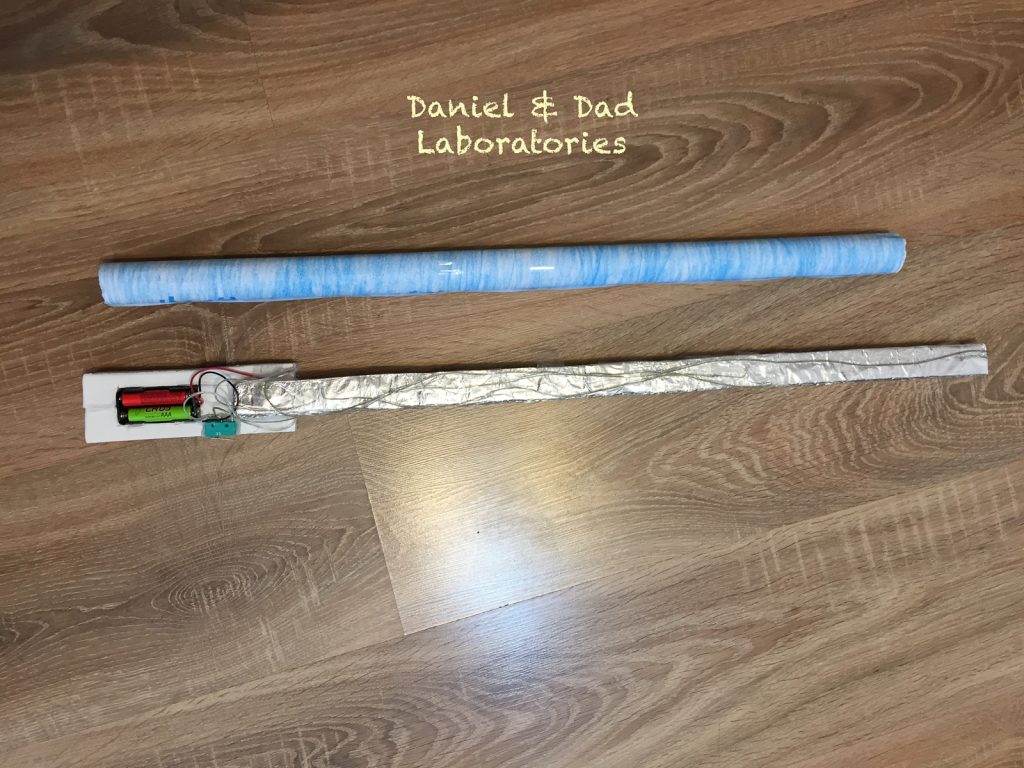
lightsaber blade cover
lightsaber
lightsaber

The Handle

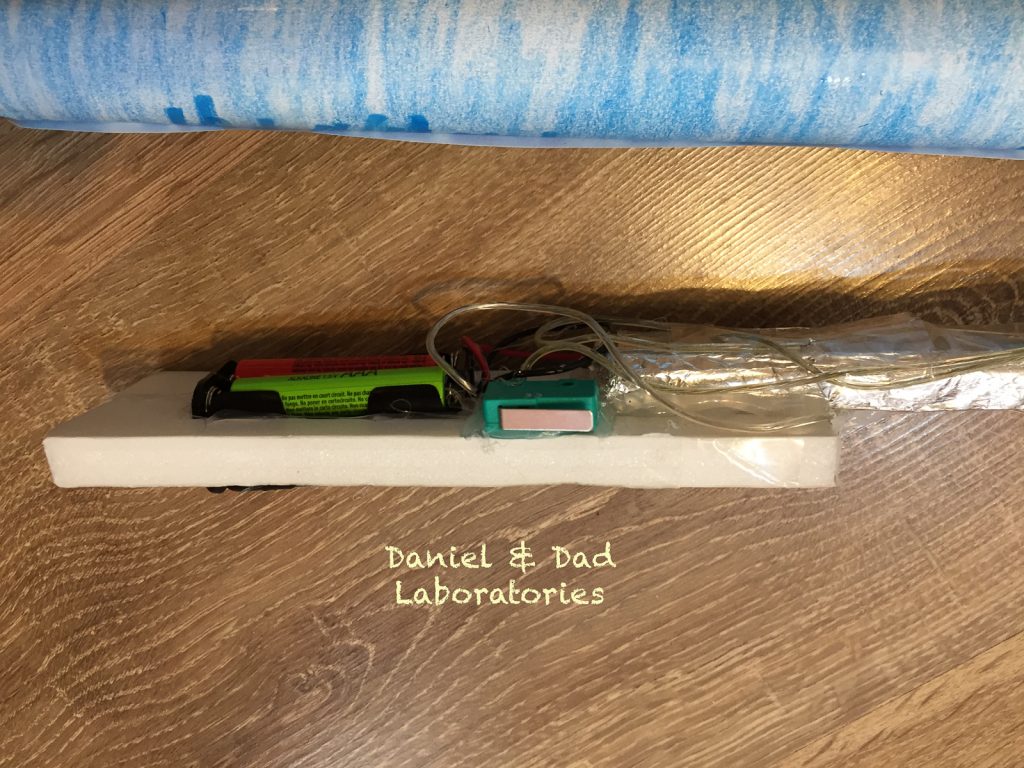
Based on your measurements for the battery holder, and after cutting out the internal part of the handle, glue the battery holder.

Glue also the switch and connect the wires.

lightsaber hadle
lightsaber hadle
lightsaber hadle
lightsaber hadle

Attach the Blade

Glue the blade on the handle, place it over (2cm) the handle so that there is more surface to glue.

lightsaber handle
lightsaber handle
lightsaber
lightsaber
lightsaber
lightsaber
lightsaber
lightsaber

You may also like...

Leave a Reply

Your email address will not be published. Required fields are marked *