Create your own wooden puzzle!
Tools & Materials
- Fretsaw (https://en.wikipedia.org/wiki/Fretsaw)
- Fretsaw blades
- Plywood (for fretsaw)
- Printer/printed image on paper
- Sandpaper
- Clear Varnish (optional)
- Cost 20 – 40 $
Workplace preparation
Prepare a clear space for the fretsaw use. We have used the table in our kitchen.
Place some cover over the table to avoid damaging the surface (blanket or plastic cover).
Prepare the fretsaw: insert the blade, check if has correct blade tension (a video tutorial here: https://www.youtube.com/watch?v=7Xt6YPxEUgk)
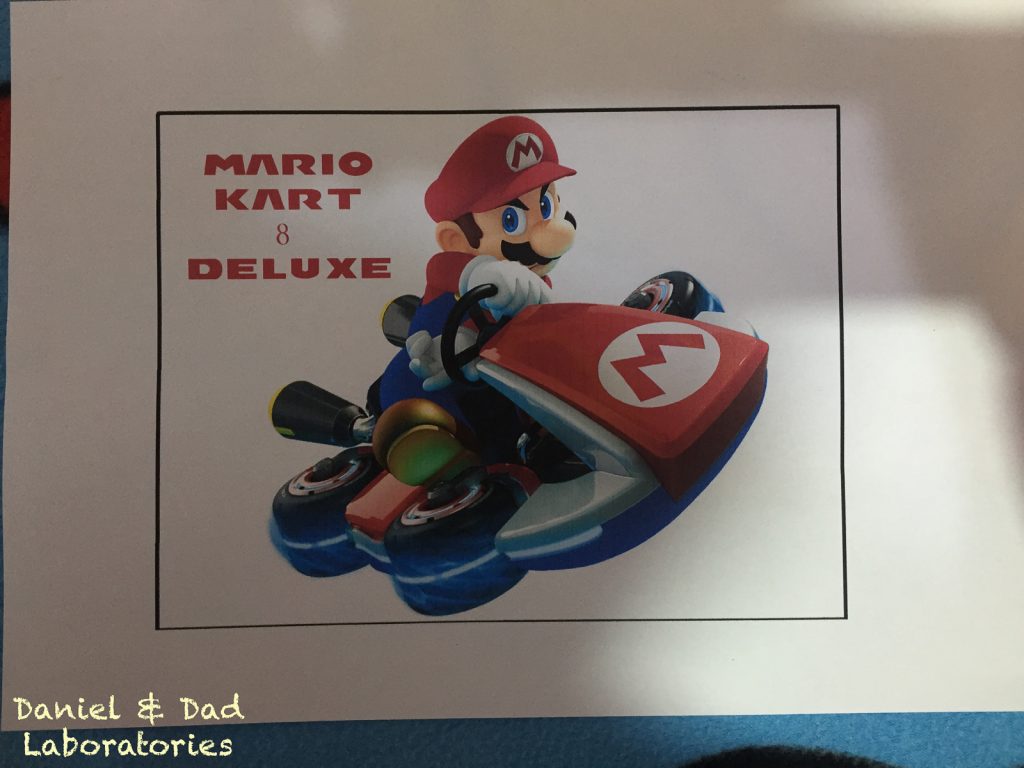
Choose and print the puzzle image
Measure the plywood, the dimensions are used to edit and print the image.
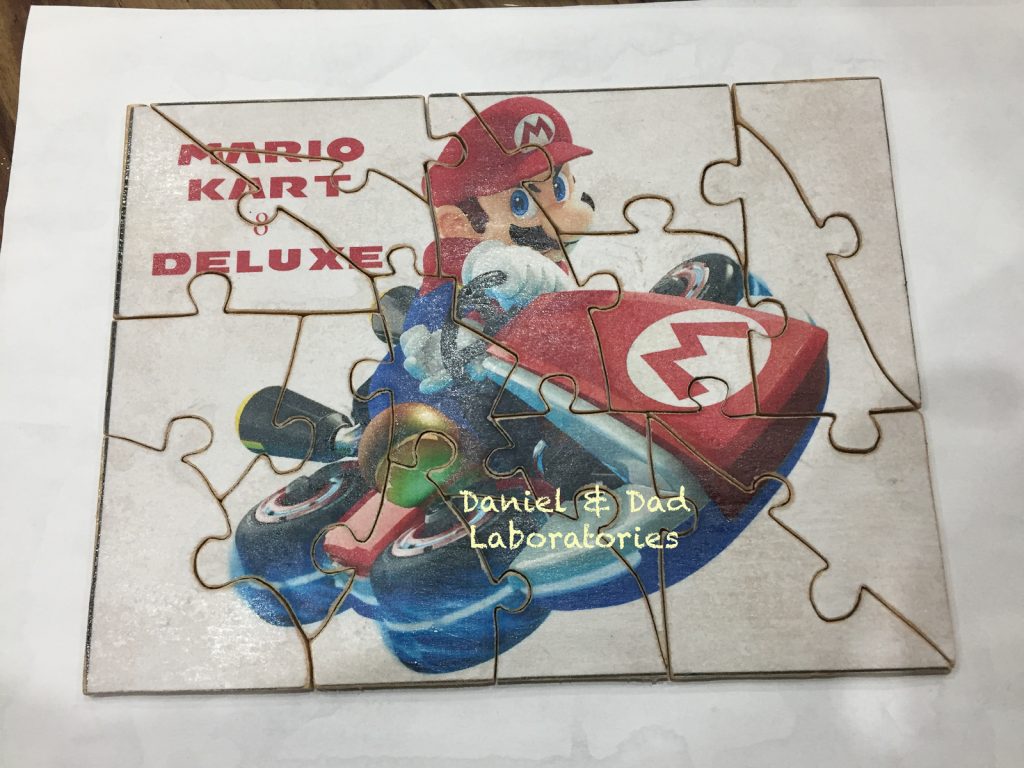
We have picked a Mario picture
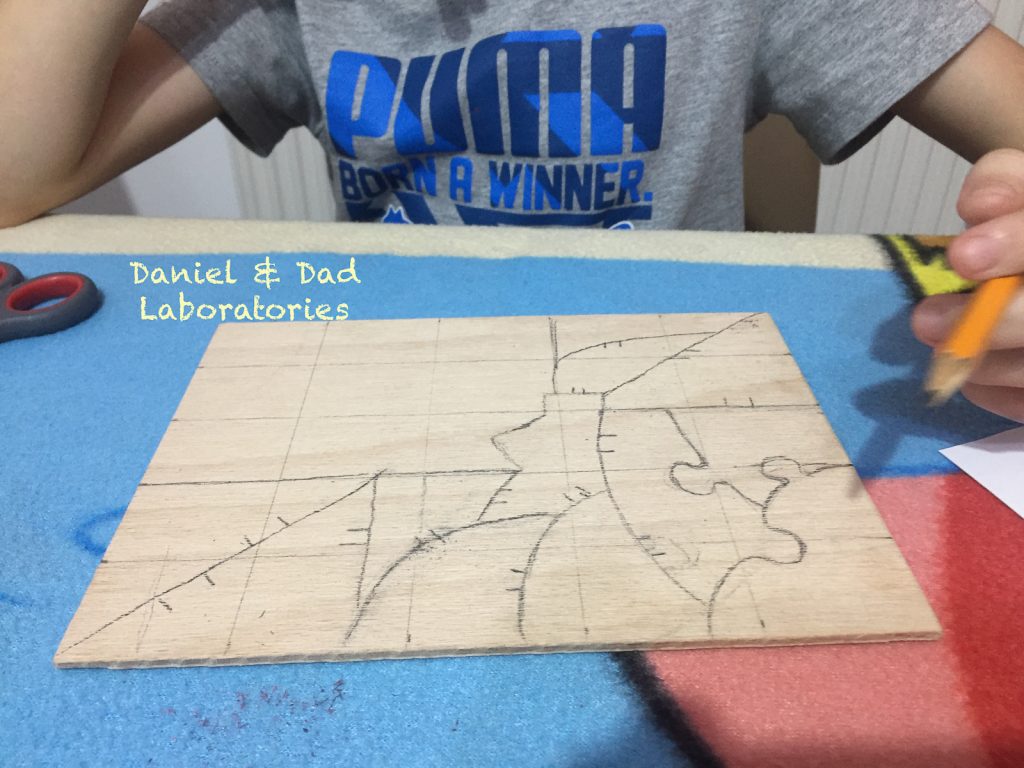
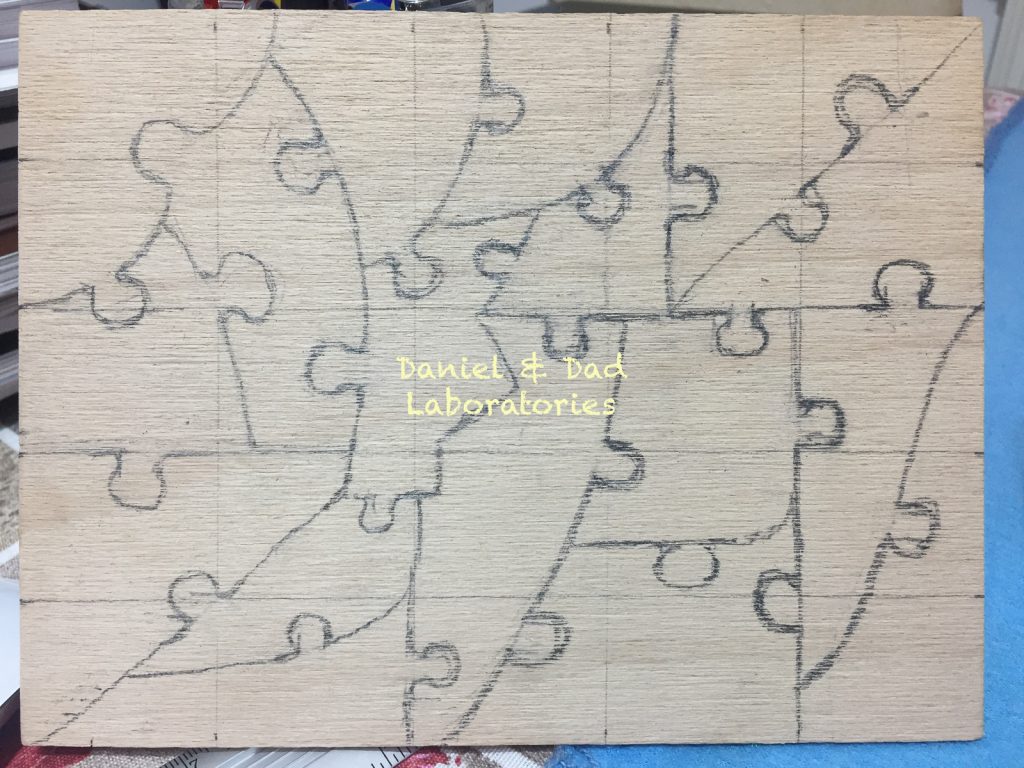
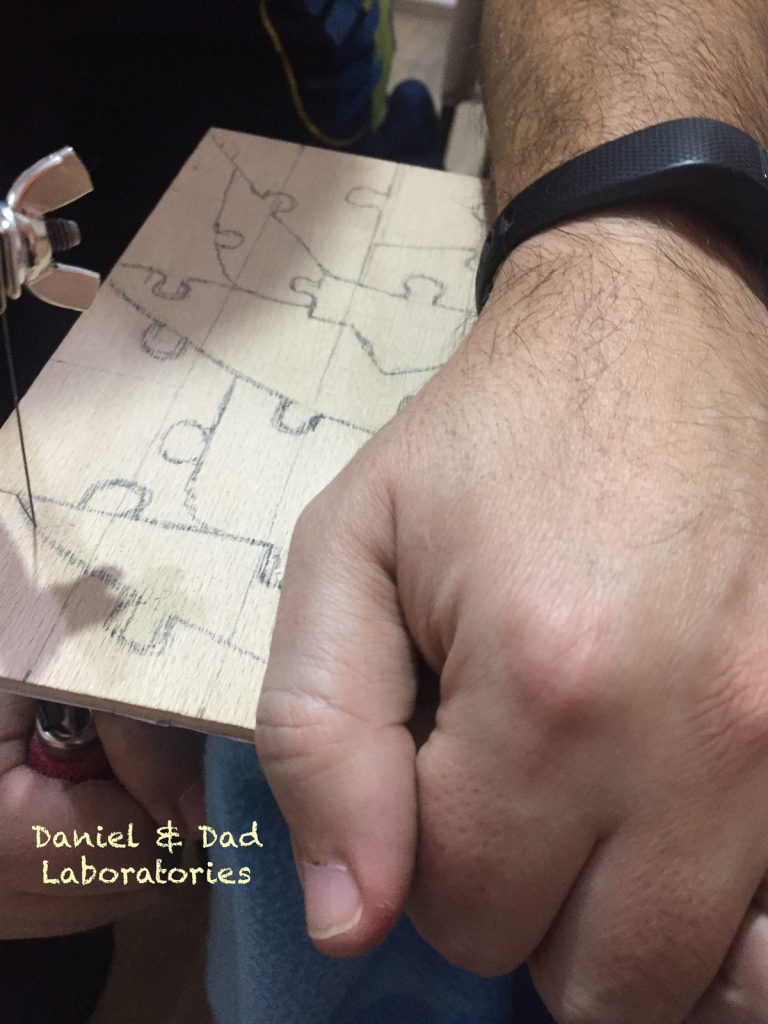
Trace the puzzle cutouts (shape of the pieces)
To help the design process you can draw grid lines.
Make the shapes irregular and also it would help for the puzzle stability to have the shapes similar with a real puzzle.
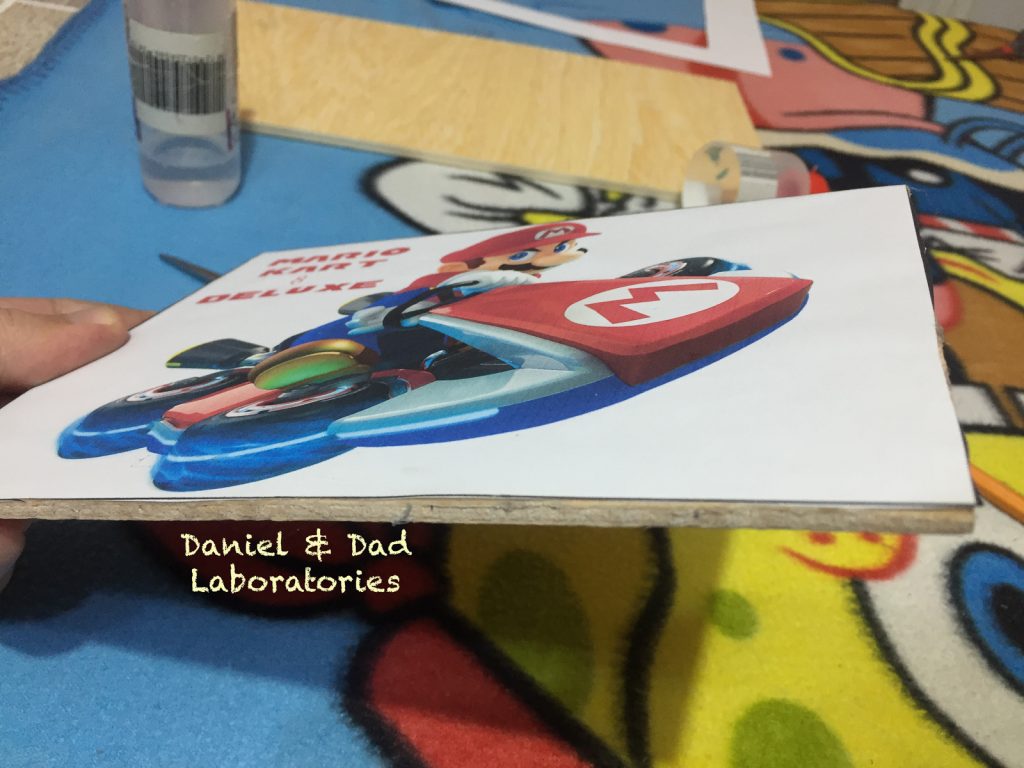
Attach the image to the plywood
On the plywood face, attach the image (on the back you should see the pieces drawings)
We have used silicone glue to stick the image to the plywood.
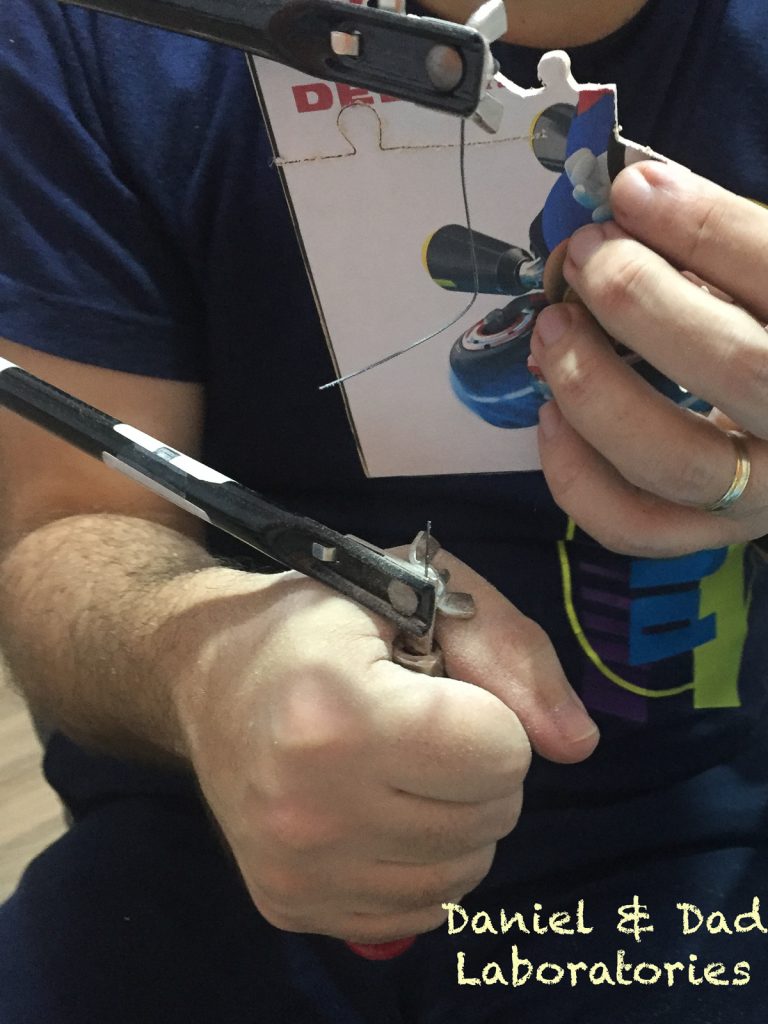
Cut the puzzle pieces (parent help if needed)
Don’t give up if the blade breaks 🙂
After cutting all the pieces, the puzzle is almost done.
Finish the pieces using sandpaper – remove the hard edges.
Varnish the puzzle
The varnish will provide some extra durability to your puzzle and it will surely look better.
We have use a varnishing spray.
Extra care!!! Before spraying, place the puzzle on some large piece of paper or cardboard, the varnish can damage or attach permanently to the surface.

